| Info | ||
|---|---|---|
| ||
|
| Tip | ||
|---|---|---|
| ||
|
Node requirements
Input Type: Bitmap/Material
Output Type: Bitmap/Material
Step-by-step guide
- Connect a warped bitmap or material to the pattern unwarp node
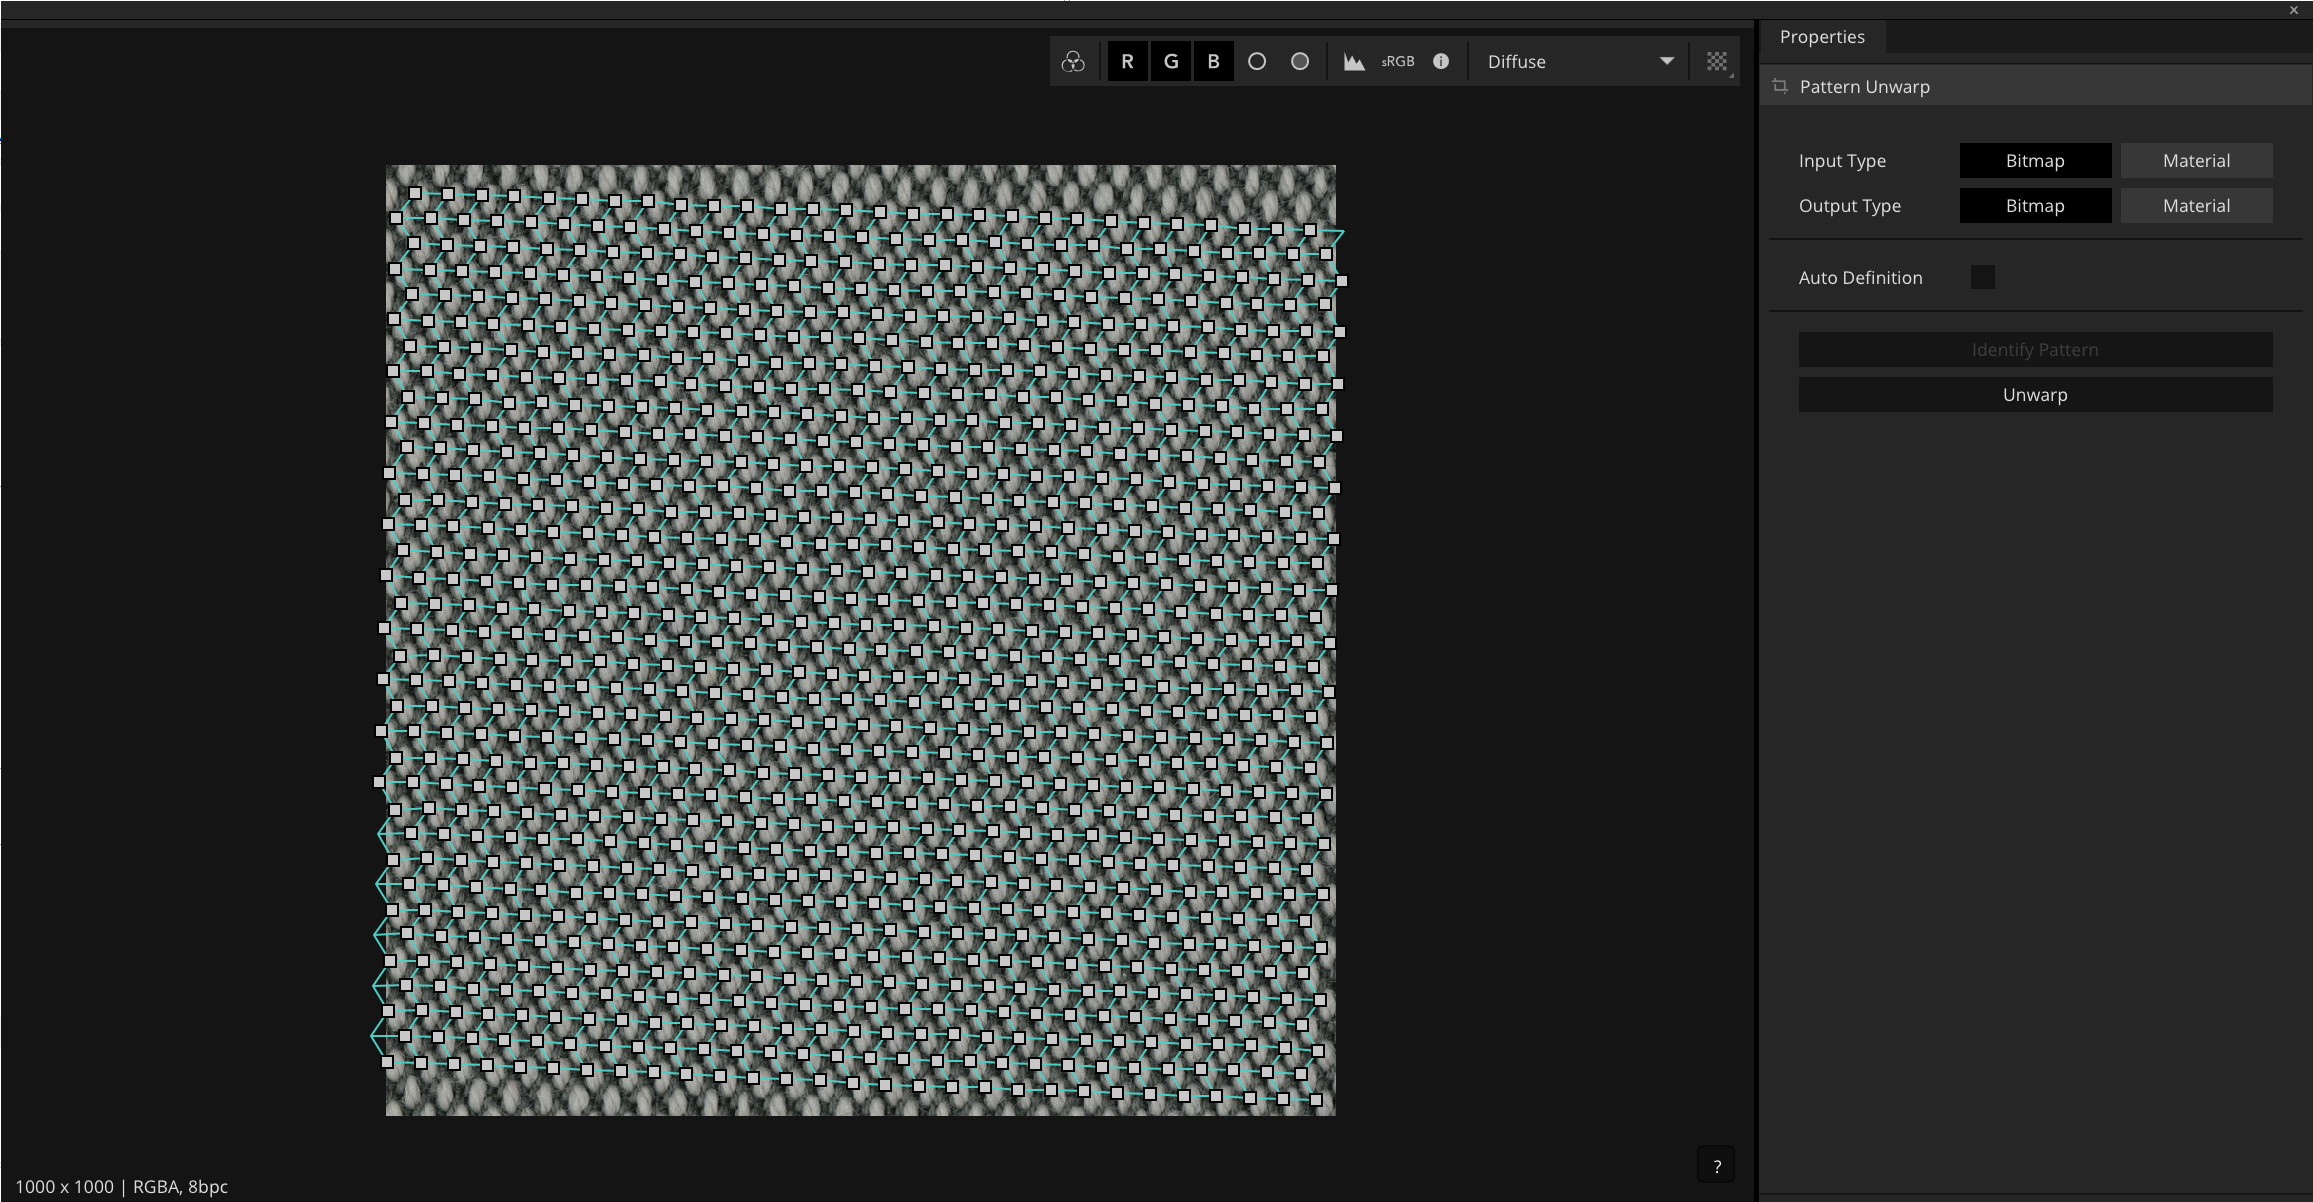
- Press identify pattern in the property panel
- The node will analyse the image and present you with a repeating grid
- You may right-click the grid to gain access to control points to tweak if they are slightly off
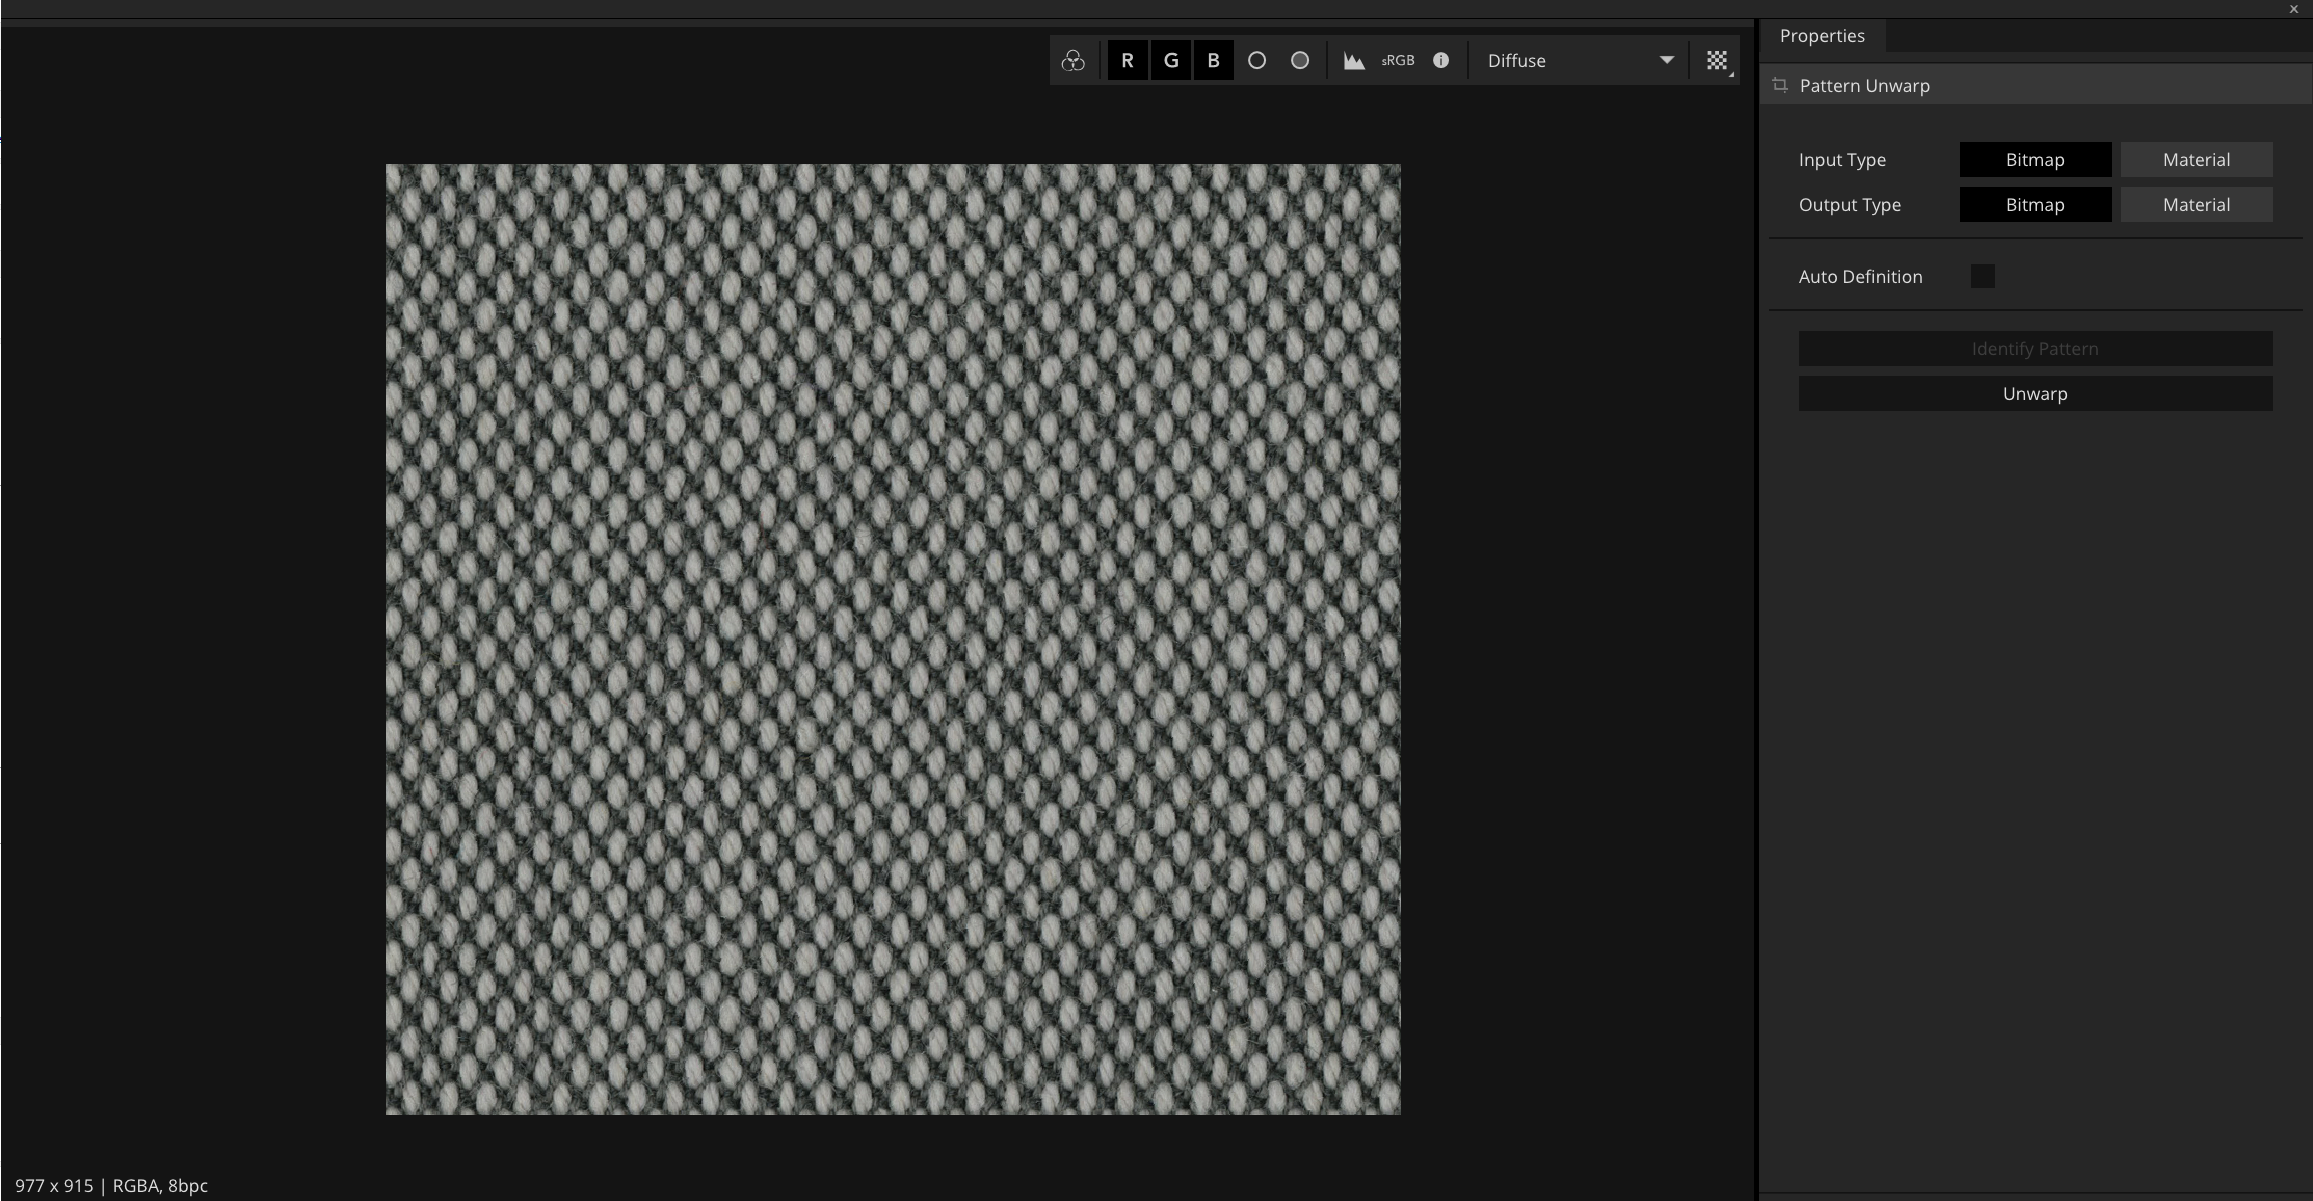
- Once satisfied, press unwarp, or click the execute button
- The grid will straighten, and simultaneously unwarp your image
The pattern unwarp node begins by looking for the smallest possible patterns, in doing this it can find groups of pixels that look like a pattern to it, but to a human is clearly wrong. When this is happening manually indicating the pattern can help, this also significantly improves analysis time.
- Connect a warped bitmap or material to the pattern unwarp node
- Untick the auto definition checkbox
- The image will be outlined in an adjustible white grid, position the grid over a repeating element
- Once positioned, press identify pattern in the property panel
- The node will analyse the image and present you with a repeating grid
- You may right-click the grid to gain access to control points to tweak if they are slightly off
- Once satisfied, press unwarp, or click the execute button
- The grid will straighten, and simultaneously unwarp your image
Additional content
The unwarper is usually used as a part of the mutation workflow, which you can consult here.
Related articles
| Filter by label (Content by label) | ||||||||||||||||||
|---|---|---|---|---|---|---|---|---|---|---|---|---|---|---|---|---|---|---|
|
| Page Properties | ||
|---|---|---|
| ||
|