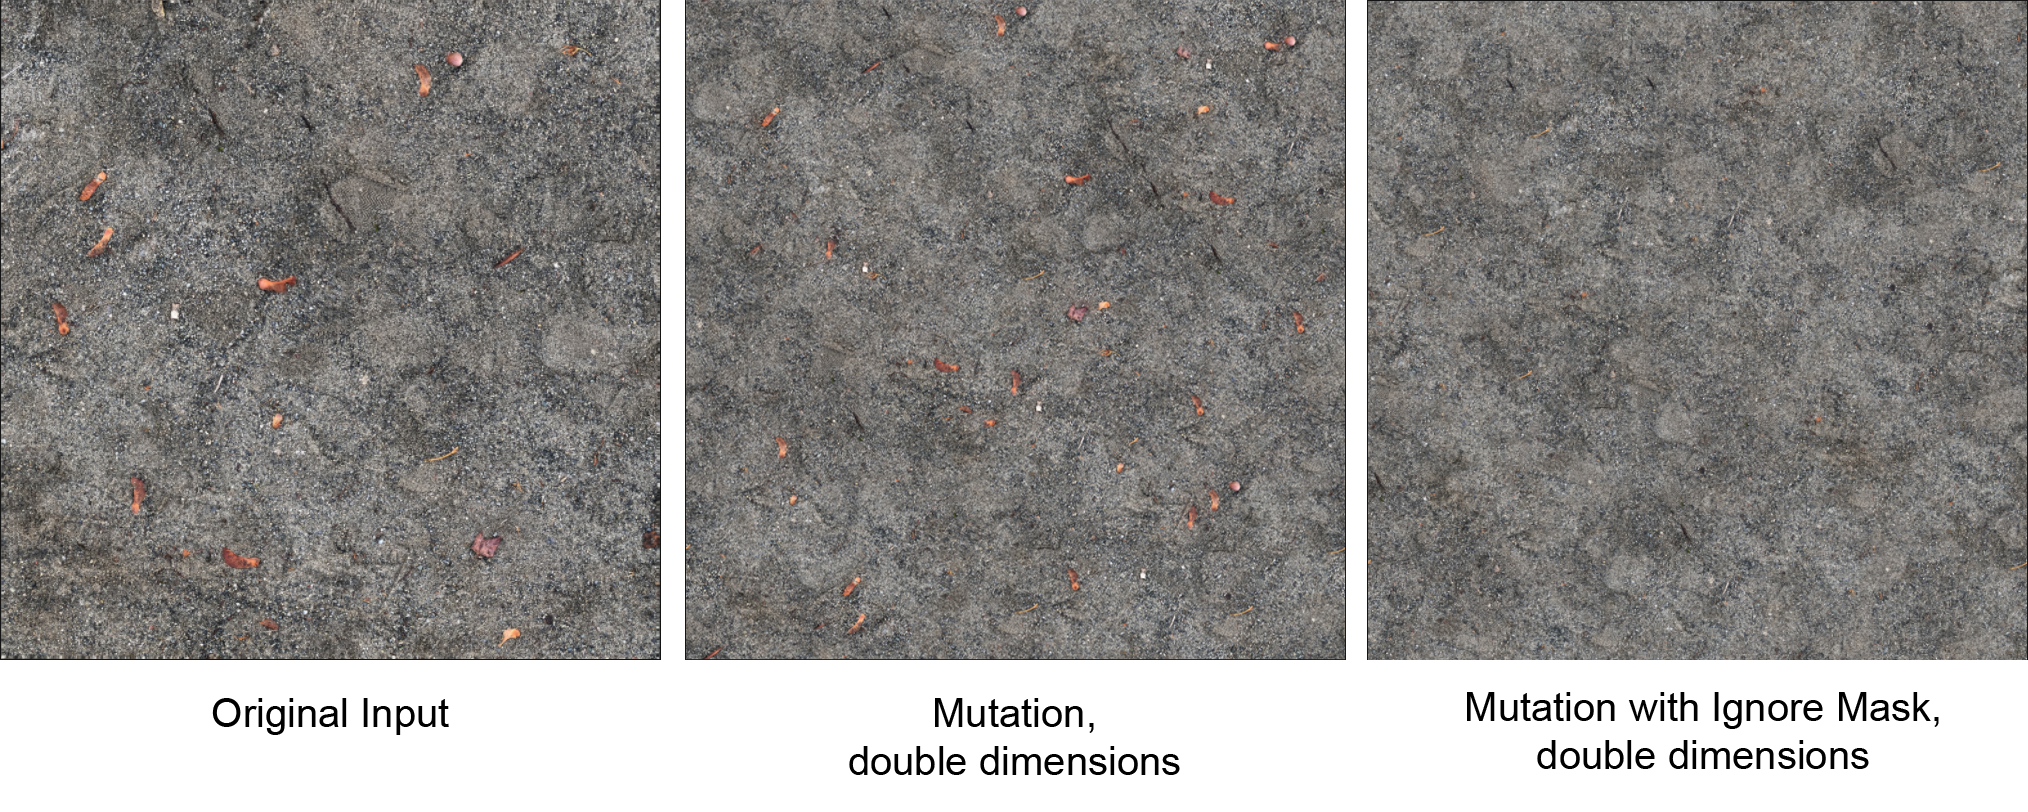
Description
...
- Create a Bitmap or Material input to use with the Mutation node. You can use an existing one from the Node Graph, or import a new one using the Asset Library.
- Create a new Mutation node on the Node Graph. To do so, move the mouse into the Node Graph, press Space, and choose Mutation. Alternatively, drag the Mutation node from the Node Library onto the graph. It can be found in the Smart Mutation category.
- Drag your input texture or material into the first input port on the Mutation node.
- Select the Mutation node by left-clicking it in the Node Graph. The node’s properties display in the Properties window.
- (Optional) Enable Preview Mutation in the Properties window to see a live preview of the Mutation results. The preview generates at a lower resolution and updates each time you change one of the other properties. The preview takes some time to execute, but it’s a good way to see how each property affects the output.
- Set the Dimensions property to the desired output resolution of the Mutation.
- Use the Properties window to modify the pattern generation Mutation behavior and see how the changes are reflected in the output. For more information on what each property does, see the Node Reference section below.
- When you have set the Properties as desired, execute the Mutation node to see the final output.
...
Using Structure Guide to preserve structural features of the input during Mutation
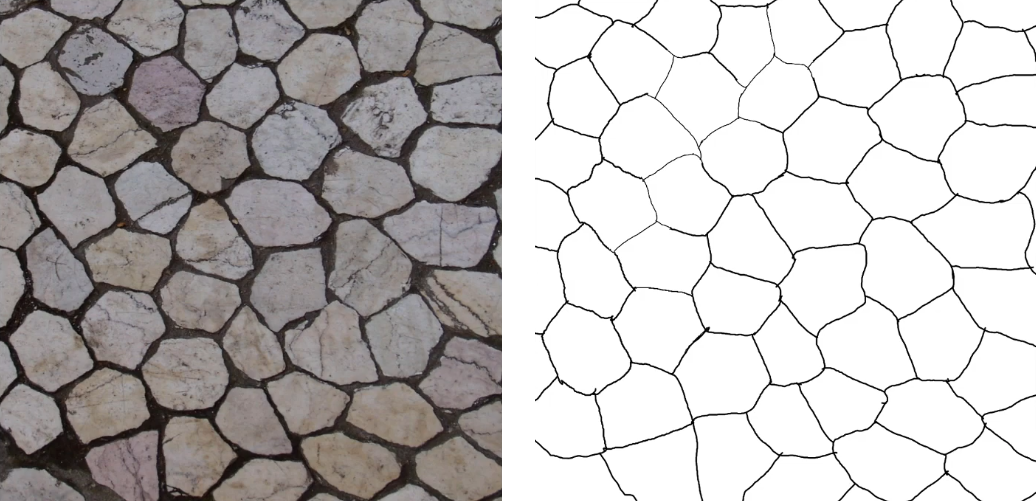
Fig.1: An input texture and its corresponding Structure Guide.
Some input images that have a defined structure - such as bricks, cobblestone, bark, and others - require an additional Structure Guide input if you wish the structure to be preserved correctly during Mutation.
...

