/
Material Generation

Material Generation


Node Location: Material

How to use component map generation nodes

  1. Add component nodes to the graph

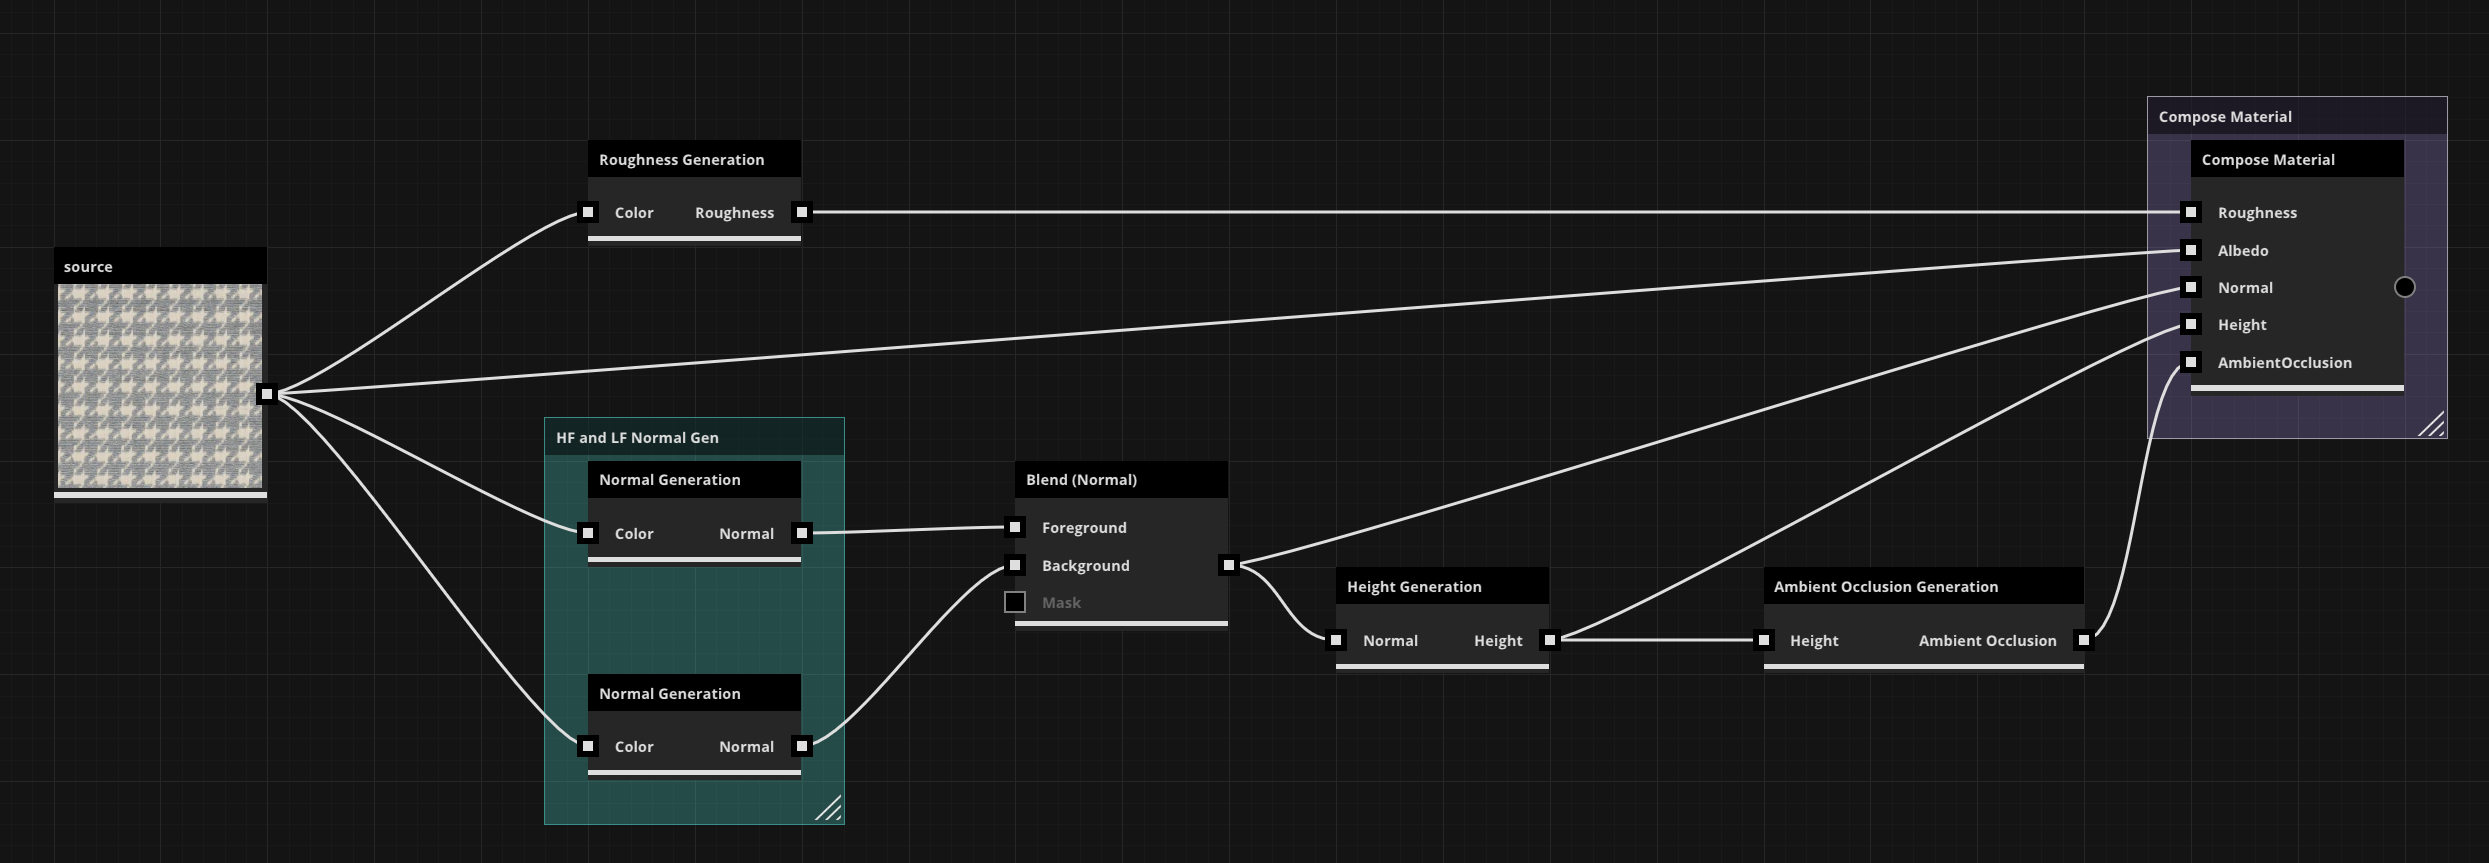
  2. Setup the shader graph as shown below - two normal nodes are used to generate both high and low frequency information

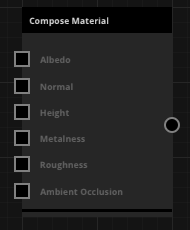
  3. View the compose material node in the 3D viewport and tweak the node properties until the material looks correct

  4. Any one of the nodes can be used to generate a single map as required


Each PBR bitmap can be generated as it's own node, as per the image below,


Material Generation Node

 Step by step guide

Description

This is a compound node which will generate PBR maps from a single diffuse texture map. You input a diffuse and select which maps you would like created in the node properties panel.

Parameters

Inputs: 
    • Color:
      An input color map
    • Normal:
      If you have a baked normal map it can be used here to generate better AO or height maps
    • Height:
      If you have a baked height map it can be used here to generate better AO or normal maps

  • Properties:
    • Normal:
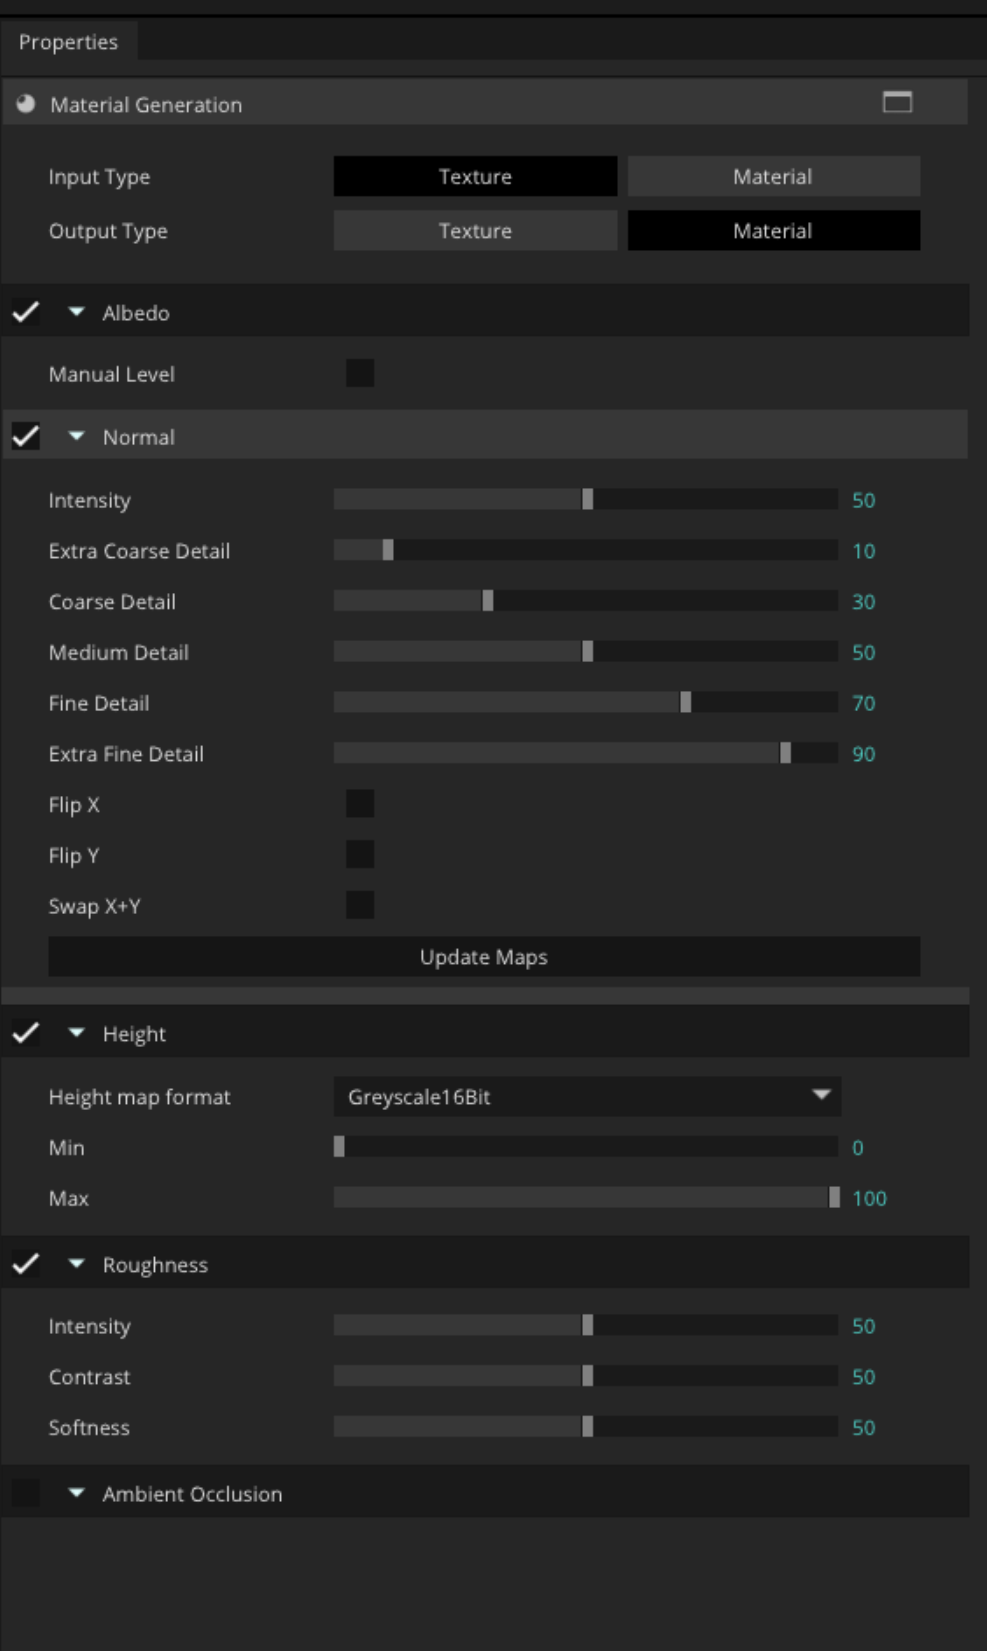
      Control the intensity and frequency of your normal maps, as well as the tangent direction.
    • Height:
      Set bit depth as well as the map range.
    • Ambient Occlusion:
      Set the strength of the generated ambient occlusion map
    • Roughness:
      Affect the smoothness of a material by controlling the intensity, contrast, and sharpness of the resultant map.

How to use Material Generation Node

  1. Add material generation node to graph

  2. Connect color bitmap to the color port of the node

  3. View the node in the 2D viewport and set the normal properties (note this will affect the resultant height and AO maps)

  4. Choose the additional maps you wish to generate by ticking their checkboxes

  5. Then press Generate Maps button in the properties to create the remaining maps